Ten Steps to Start a New Sewing Project

Ten Steps to Start a New Sewing Project

September 12, 2023

Starting a new sewing project is like opening a door to a world of endless possibilities, where your creativity takes centre stage. Whether you’re an experienced seamstress or just starting out, the thrill of crafting something with your own hands is truly unmatched. However, to ensure that your sewing adventure unfolds smoothly and ends with a satisfying masterpiece, it’s crucial to follow these steps. In this comprehensive guide, we will take you through each step of the journey, from defining your project to adding those final finishing touches.

Step 1: Define Your Project

Starting with a clear vision is paramount. It’s the foundation upon which you’ll build your sewing success. Ask yourself questions like:

What is the exact item you want to create? Is it a dress, a quilt, or perhaps a set of curtains?

Will I be using a commercial pattern, a printable pattern from online, or drafting a pattern myself?

Who is the intended recipient of your creation? Are you making something for yourself, a loved one, or a client?

What purpose will the finished project serve? Is it for everyday use, a special occasion, or decorative purposes?

Do you have specific design preferences? Consider factors such as style, colour palette, and any unique features you want to incorporate.

Are there any new techniques I must learn to complete this project?

Do I have a strict timeline or budget for this project?

Once you have picked a pattern, remember to read your pattern instructions thoroughly if you use a pre-made pattern. This step can save you time and prevent costly mistakes later on. Establishing a clear vision for your project guides your choices and fuels your enthusiasm throughout the sewing process.

TopBuys Top Picks

Step 2: Gather Your Sewing Supplies

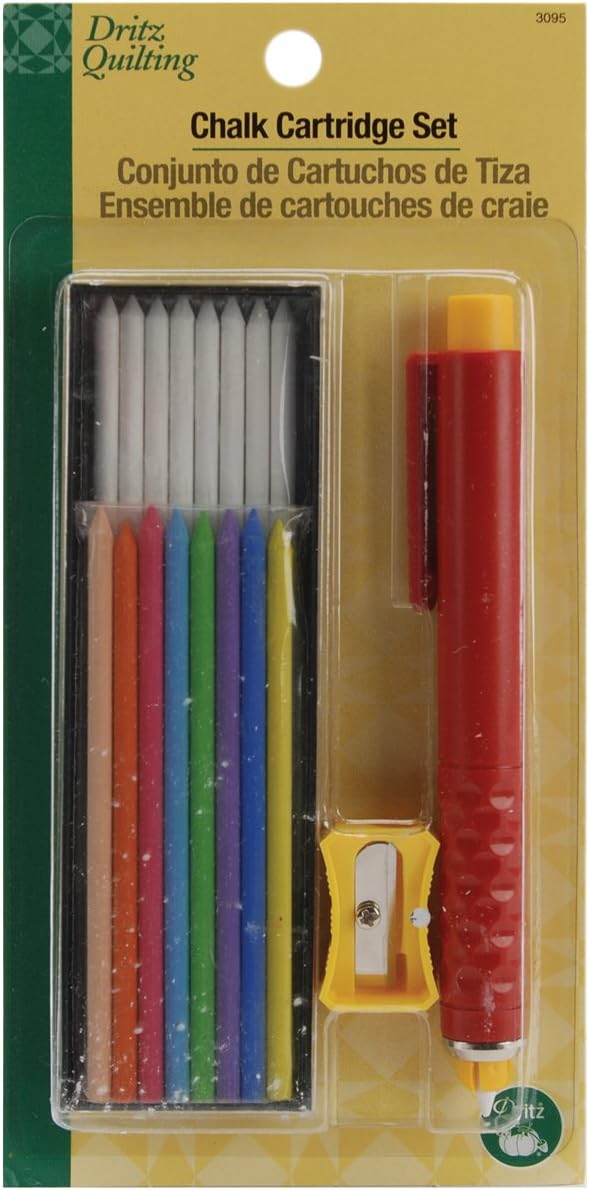
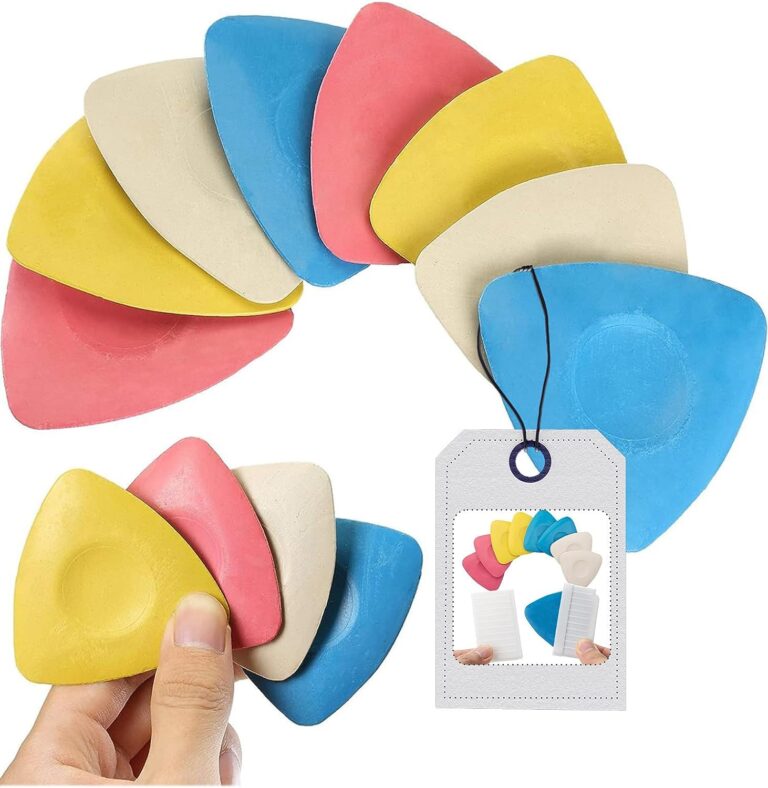
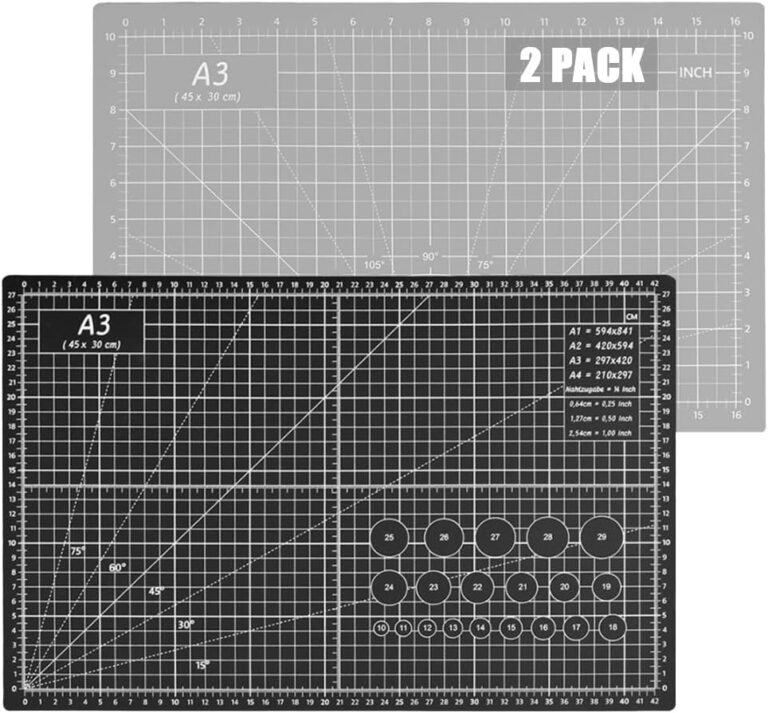
Once your project vision is crystal clear, it’s time to assemble all the necessary supplies. The right materials and tools can make a world of difference in the outcome. Start by writing a detailed list of the required supplies to ensure nothing is forgotten. This is also a great time to check on your stock of general sewing supplies, such as marking tools, rotary cutter blades, pins and clips, and empty bobbins. Here’s a closer look at what you might need:

Fabric 

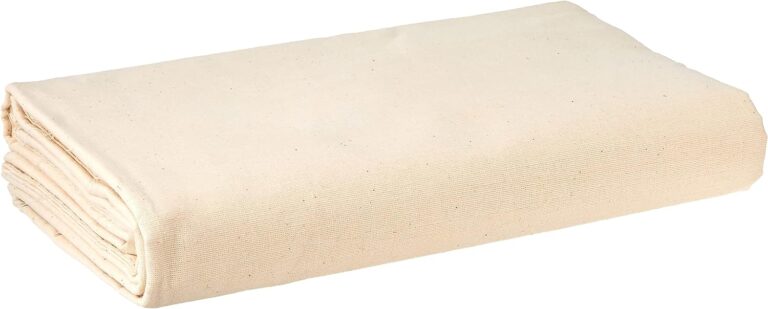
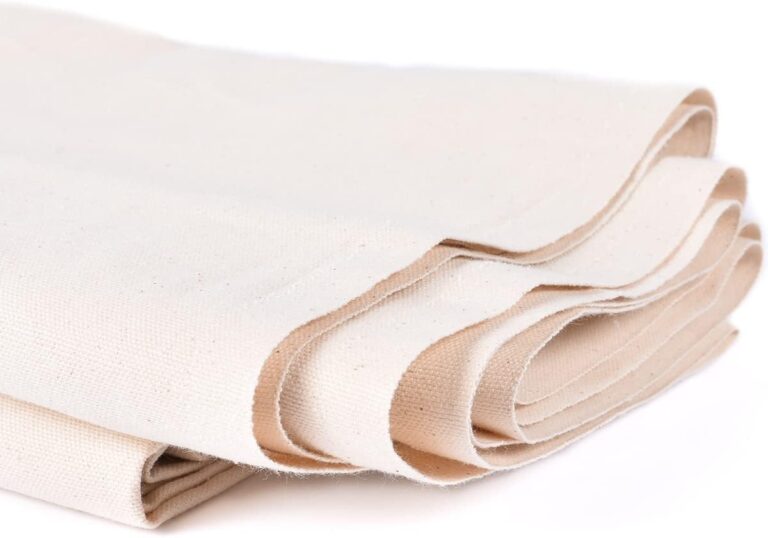
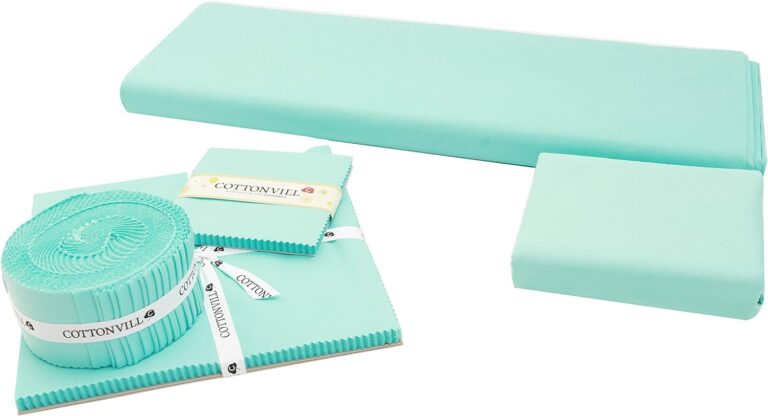
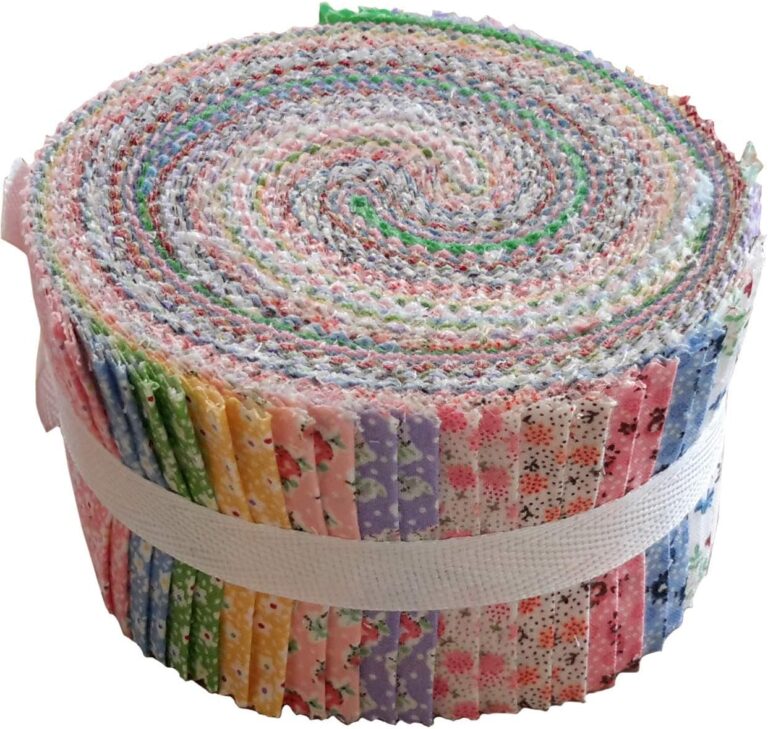
Your fabric choice is pivotal to the project’s success. Consider factors like weight, texture, colour, pattern, and budget when making your selection. Make sure you consider your main fabrics, accent fabrics, and lining or backing fabrics. If you are making a garment or something else that you will want to make a mockup of, ensure you get a cheap fabric with similar properties to your final fabric to test your pattern before using your more expensive fabrics. Also, note how much of each fabric you need to make shopping much easier.
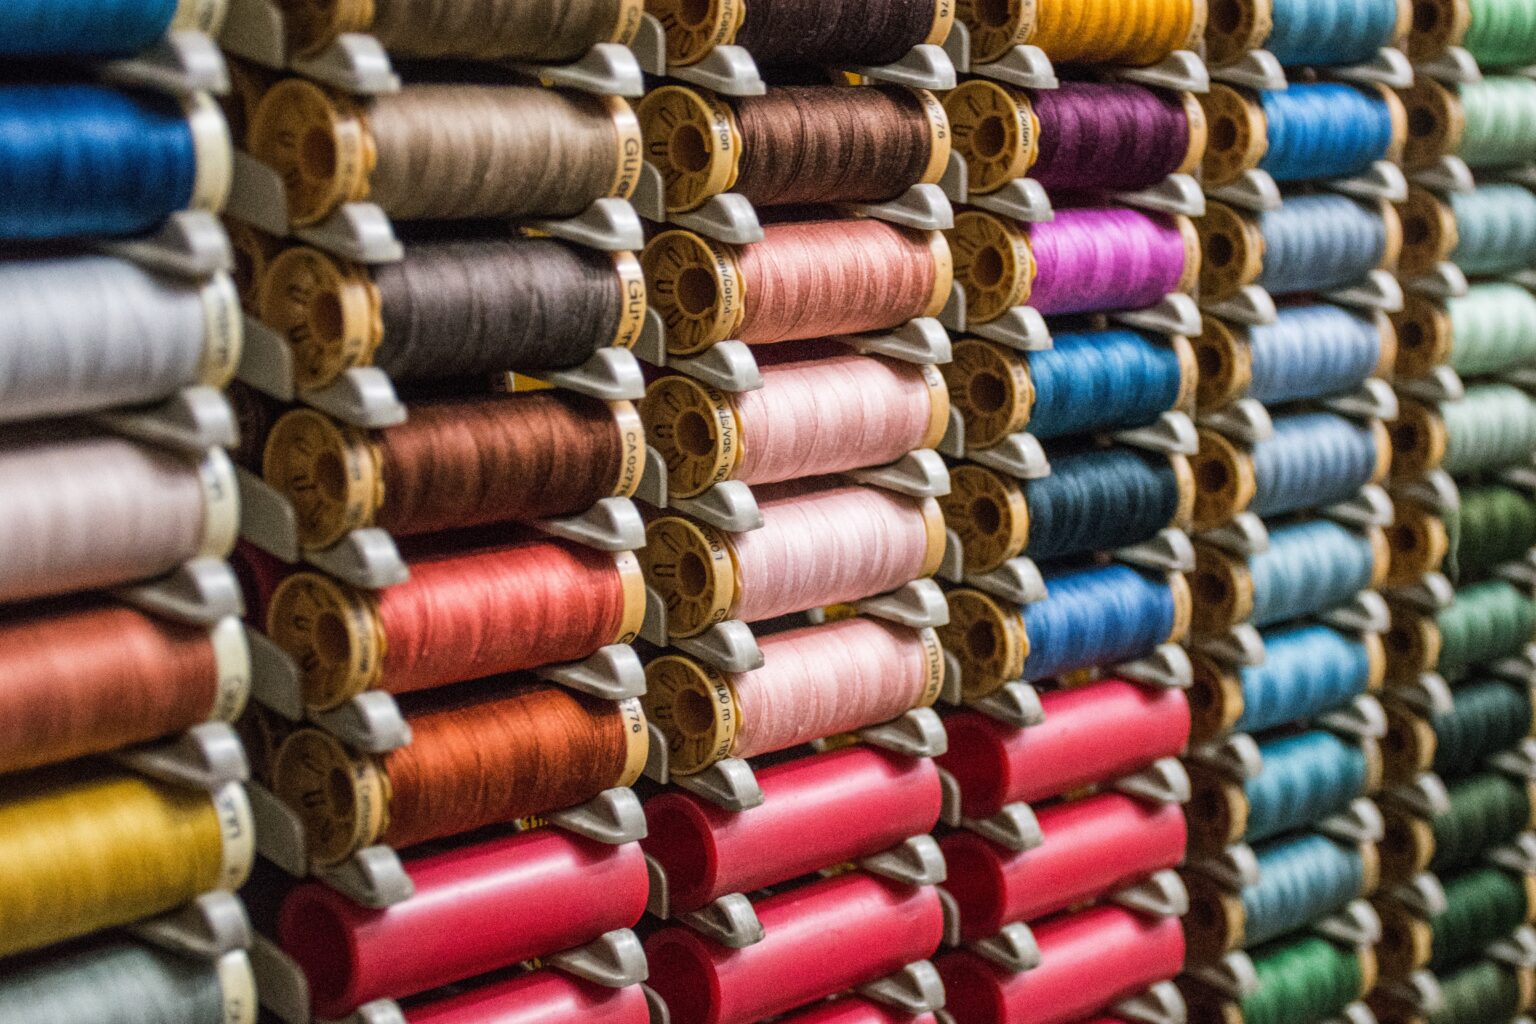
 

Thread

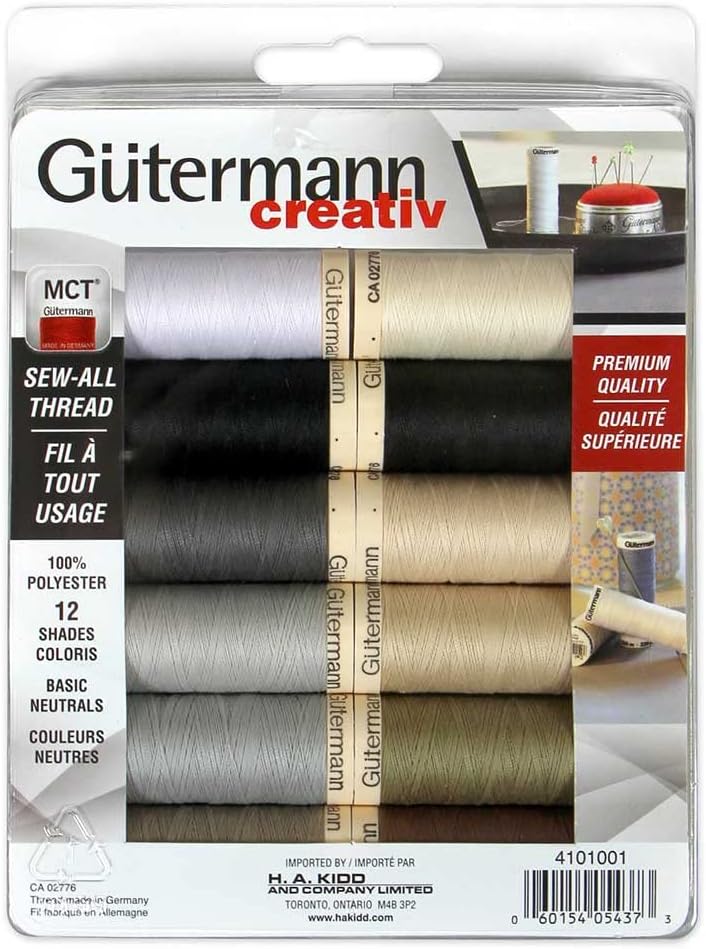
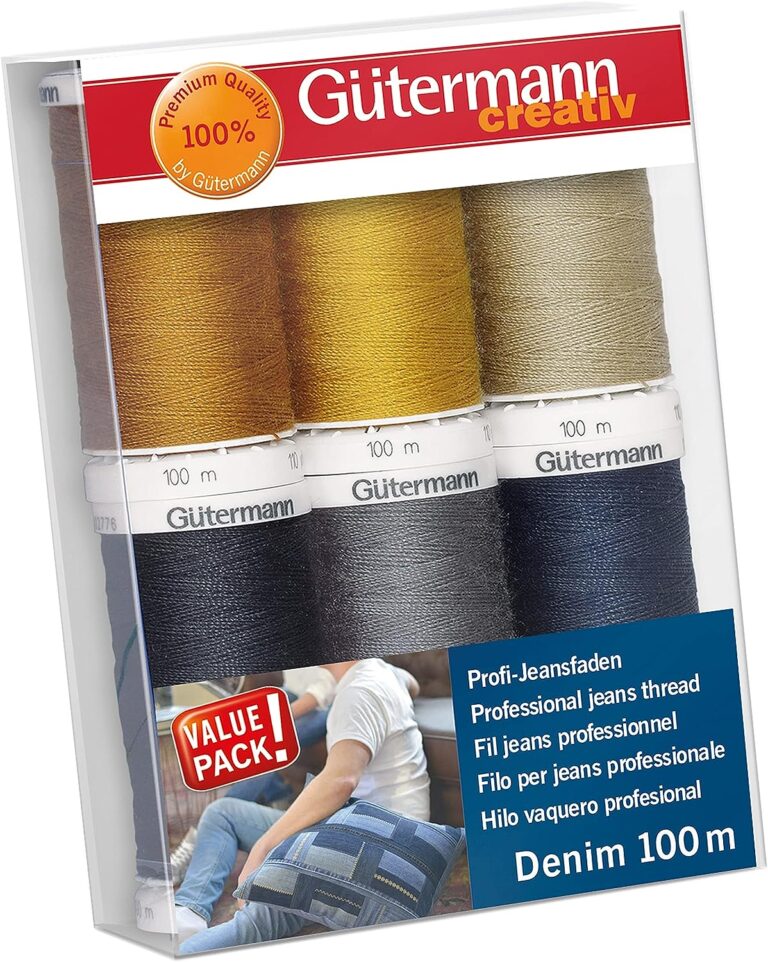
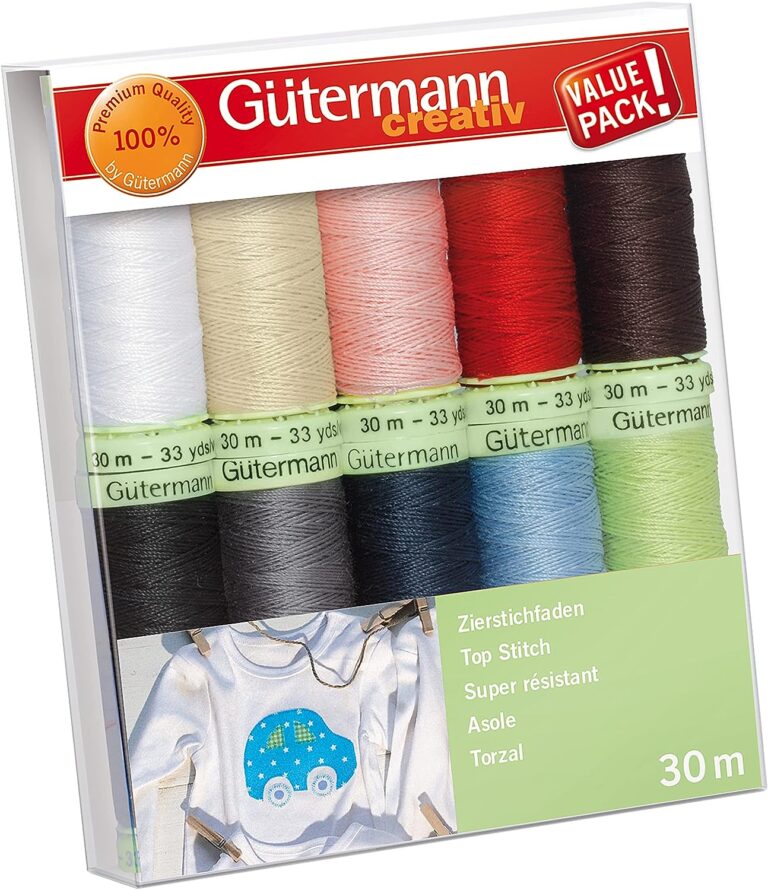
Depending on your design, the thread colour should match your fabric or create a contrast. If buying your thread in person, take a swatch of your fabric with you to see what the colours look like next to your fabric. Consider the colours as well as the types of threads that you might need. For example, if you are creating a pair of jeans, you might use one all-purpose thread to do most of your seams and a matching topstitch thread to do all your topstitching. Most of the time, you will be using the same thread on your bobbin and top thread, but make sure you take the time to research if any of your threads need a different bobbin thread. For example, some topstitch threads, like the Gütermann Top Stitch thread, suggest an all-purpose thread as a bobbin thread. Always ensure you have an ample supply to complete your project.
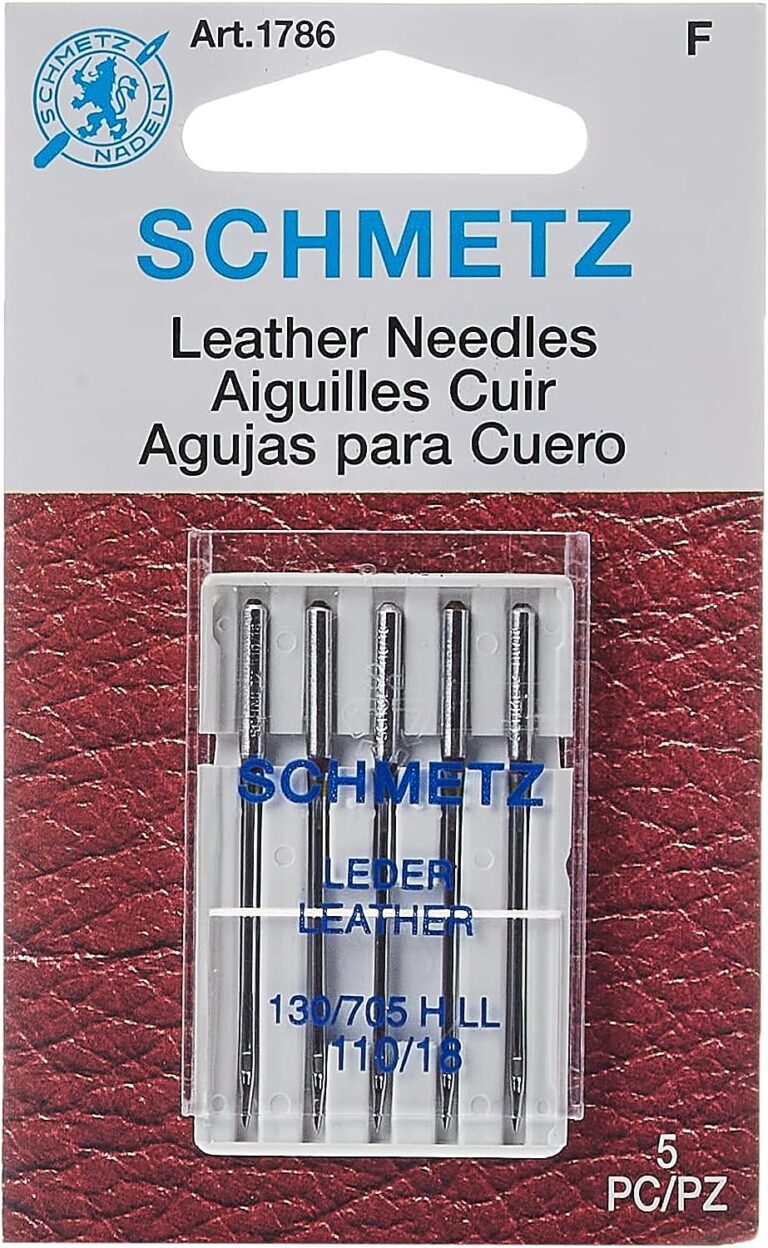
 

Needles

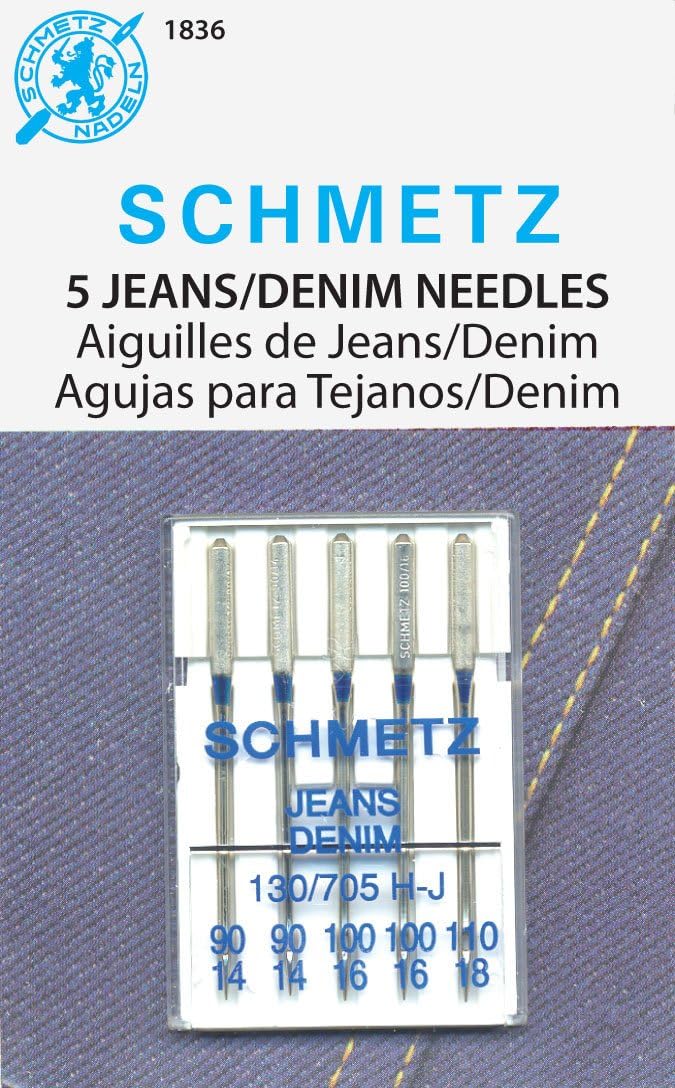
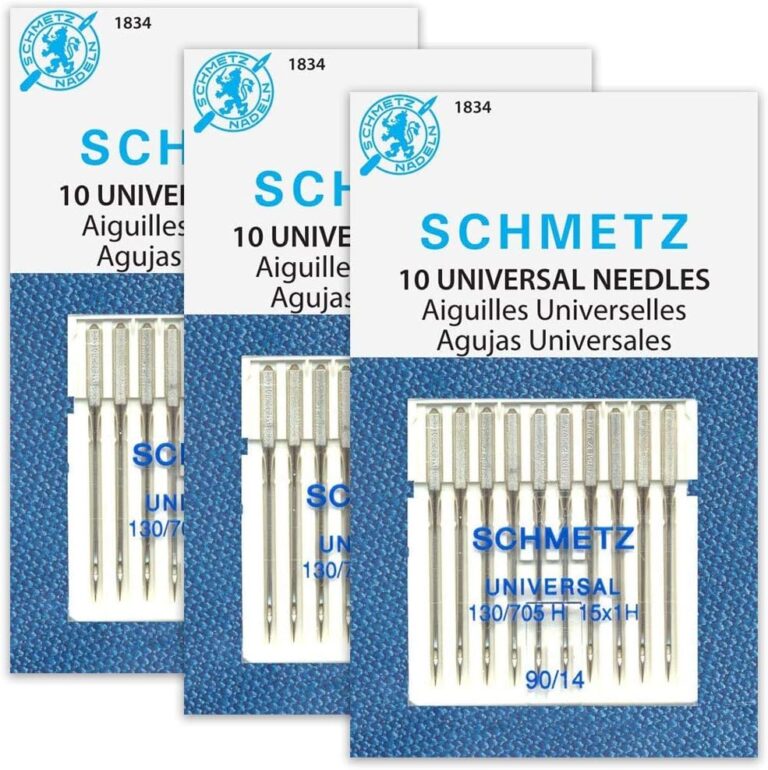
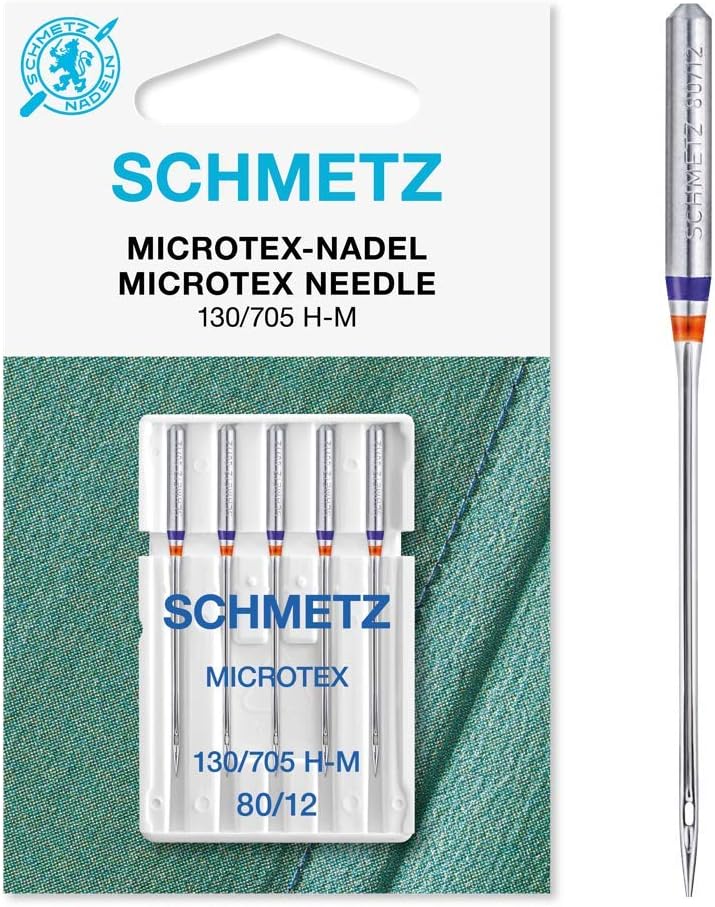
Selecting the appropriate sewing machine needle is crucial to a smooth sewing experience. Different needles are designed for various materials and purposes, so choose the right one for your fabric and project. Make sure the type of needle matches your fabric and the needle size will work with the thread you selected. It is a good idea to have at least a couple of each needle you might need on hand so that if something happens and you end up with a bent or broken needle or if you are doing an extensive project and the needle gets dull, you have extras to swap it out. Also, ensure you always buy needles that fit your machine.


Notions

Note any additional notions required for your project, such as zippers, buttons, other fasteners, interfacing, trims, or elastic.


Presser Feet

If you are working with any specialty fabrics or trying new techniques, do some research and see if there are any new presser feet that you want to invest in for your project. When buying presser feet, double-check that they will fit your machine.

TopBuys Top Picks

Step 3: Cut Your Fabric

If using a commercial or printed pattern, first, you will have to cut out your pattern pieces or transfer the pattern to your fabric directly. Take note of the seam allowance of your pattern. If it is not included in your pattern, include it while cutting out your pieces. Now, it’s time to start cutting your fabric, paying close attention to the pattern instructions. Precision is key here, as accurate cutting ensures your project comes together seamlessly. Use fabric scissors or a rotary cutter and cutting mat. Also, mark your fabric so you know which pieces correspond to your pattern pieces. Remember to mark any critical points, such as darts, pleats, or notches, with fabric chalk or another method.

TopBuys Top Picks

Step 4: Pin

Once you have all of your pieces cut out, follow your pattern instructions and use pins or clips to secure the fabric pieces together, making sure to align edges, seams and notches precisely. When aligning seams, remember to consider the seam allowance. Also, make sure you pin any darts or pleats. This step guarantees that your pieces fit together flawlessly.

TopBuys Top Picks

Step 5: Prepare Your Sewing Workspace

A well-organized and clutter-free workspace is the secret to a smooth sewing experience. Here are some key actions to take:

  • Thoroughly clean your sewing machine and ensure it’s properly threaded.
  • Ensure you have the correct needle and presser foot installed for each portion of your project.
  • Arrange your necessary supplies within easy reach to minimize disruptions while sewing.
  • Have a dedicated space to put any scraps or snipped threads so you don’t end up with a mess.
  • Ensure your iron is ready and in a convenient location to press your seams while sewing.
  • Ensure you have adequate lighting to avoid eye strain during long sewing sessions.
 

TopBuys Top Picks

Step 6: Sew a Test Seam

To avoid any unwelcome surprises further down the road, it’s always smart to sew a test seam on a scrap piece of fabric. Use the same thread, needle, presser foot and machine settings you plan to use for your project. This test run ensures that everything is working correctly and allows you to fine-tune your stitch length, tension, and overall technique for optimal results. Make sure you sew a test seam on a scrap every time you change the type of thread, type of needle, presser foot, fabric or machine settings (such as stitch length or type of stitch).

Step 7: Begin Sewing

With your test seam completed and any necessary adjustments made, you can start sewing your project. Start with any darts and straight seams, adhering closely to your pattern instructions. Take your time, and pay careful attention to detail to ensure accuracy. Additionally, be sure to snip your threads as you go to maintain a tidy appearance and prevent loose ends from becoming entangled in your seams or, worse, in your sewing machine’s mechanisms. If you’re creating a garment, take a moment between steps to try it on if possible. This can be a game-changer in ensuring a perfect fit.

Step 8: Finish and Press

After sewing all the required seams, it’s time to give your project a polished look. Do any necessary topstitching and finish raw edges with your desired technique to prevent fraying. As you progress, remember to press your project pieces. This step sets your seams and helps you achieve a professional and refined appearance.

TopBuys Top Picks

Step 9: Final Touches

As you approach the finish line, tackle any remaining finishing touches. This might involve attaching closures like zippers or buttons or hemming your creation. These final details add the perfect finishing flourish to your project.

Step 10: Review and Celebrate

Before you step back and admire your handiwork, conduct a thorough review. Check for any loose threads, missed stitches, or uneven seams. If everything looks good and you’re satisfied with the result, give yourself a well-deserved pat on the back. Relish in the satisfaction of completing your sewing project, knowing that you’ve created something beautiful and honed your skills.

Conclusion

Embarking on a new sewing project is a delightful journey into the world of creativity and craftsmanship. It’s an opportunity to breathe life into your ideas, and with the right approach, you can transform fabric into a work of art. Following these essential steps will set you up for success and ensure your sewing experience is enjoyable and rewarding. So go ahead, unleash your creativity, and sew away! Happy sewing!

If you’re eager to dive into the world of sewing and found these steps helpful, you’re well on your way to becoming a skilled sewist. To take your sewing journey even further, be sure to check out our related article, “Sewing Starter Pack: Your Ultimate Guide To Getting Started.” This comprehensive guide will equip you with all the essential tools and knowledge you need to embark on this exciting craft with confidence. Whether you’re a beginner or looking to refine your skills, our starter pack article will be your trusty companion. Happy sewing!